Install AirPrint On Ubuntu Server 8.04
Apple’s AirPrint technology in iOS is great, that is if you have a special AirPrint enabled printer. Unfortunately for the majority of us we already have a printer and have no intentions of purchasing a new one anytime soon. I’m in that boat, I’ve been very happy with my Brother laser printer, but I want to be able to print from my iPad. I have seen several paid software solutions like FingerPrint, but all of them require that the computer that it is installed on is turned on. Since there are only laptops in my house, this solution doesn’t work as well. What I do have though is an old AppleTV running a linux server on it. This is always on and ready to go. I had looked into getting AirPrint working using my server before, but the task seemed rather daunting. I finally sat down and figured it out, and it turned out to be rather straightforward. I had to piece together various bits of information to get this working with my setup, but here are the steps….
Steps to install AirPrint on ubuntu server 8.0.4
-
install CUPS. Installing CUPS on 8.0.4 is different compared to newer versions of Ubuntu. If you have a newer version, just do a Google search for it. https://help.ubuntu.com/8.04/serverguide/cups.html
-
edit the config file
sudo nano /etc/cups/cupsd.conf
make the following changes:
# comment out the follow two lines
#Listen localhost:631
#Listen /var/run/cups/cups.sock

# add these two lines
Port 631
ServerAlias *

<Location />
Order allow,deny
Allow @LOCAL # add this line
</Location>

<Location /admin>
Order allow,deny
Allow @LOCAL # add this line
</Location>
-
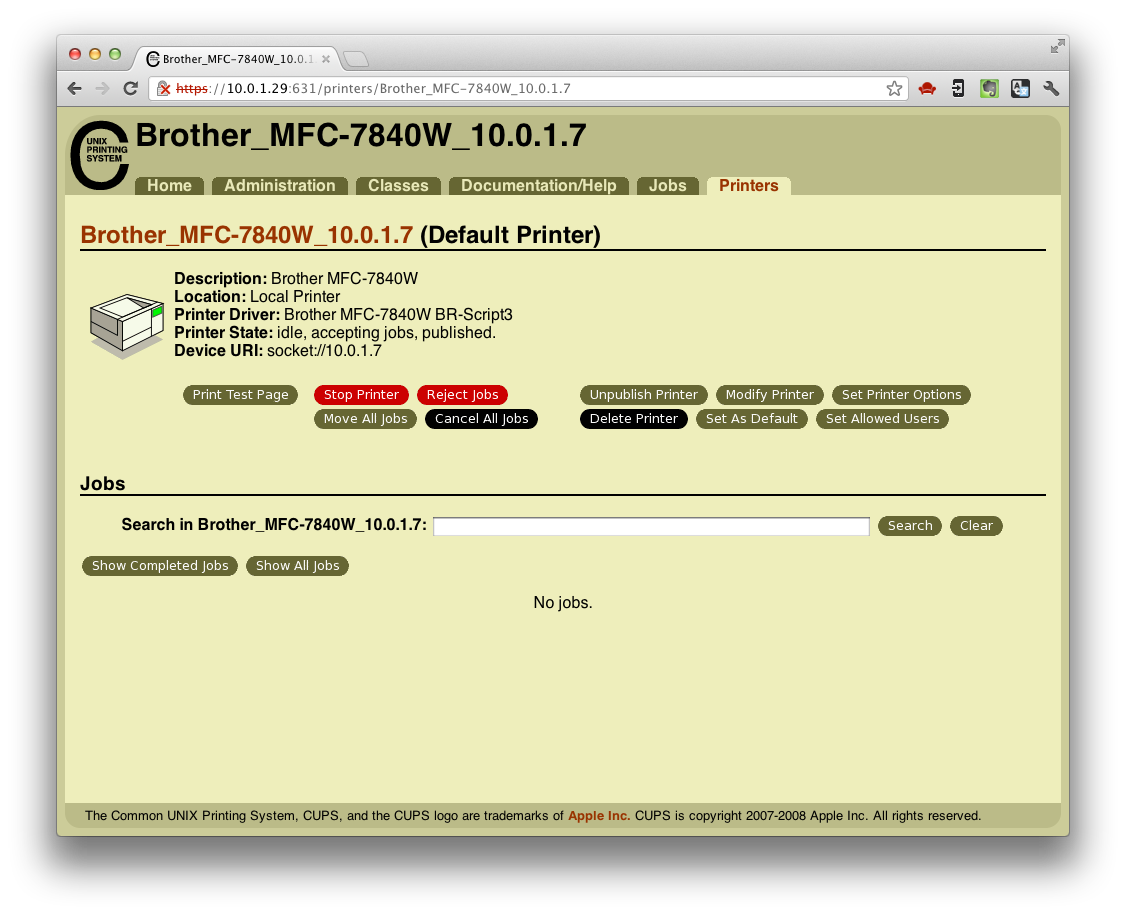
Visit the CUPS web interface to configure the printer. Replace the IP address with that of your linux server. http://10.0.1.1:631 admin > find new printers select options to configure or upload .ppd file from manufacturer
- Install avahi
sudo apt-get install avahi-daemon - create new file
sudo nano /etc/avahi/services/printer.service
Paste the following code into new file.
<?xml version="1.0" standalone='no'?><!--*-nxml-*-->
 <!DOCTYPE service-group SYSTEM "avahi-service.dtd">
 <service-group>
 <name>Brother MFC-7840W</name>
 <service>
 <type>_ipp._tcp</type>
 <subtype>_universal._sub._ipp._tcp</subtype>
 <port>631</port>
 <txt-record>txtver=1</txt-record>
 <txt-record>qtotal=1</txt-record>
 <txt-record>rp=printers/Brother_MFC-7840W_10.0.1.7</txt-record>
 <txt-record>ty=Brother MFC-7840W</txt-record>
 <txt-record>adminurl=http://10.0.1.1:631/printers/Brother_MFC-7840W_10.0.1.7</txt-record>
 <txt-record>note=Brother MFC-7840W</txt-record>
 <txt-record>priority=0</txt-record>
 <txt-record>product=virtual Printer</txt-record>
 <txt-record>printer-state=3</txt-record>
 <txt-record>printer-type=0x801046</txt-record>
 <txt-record>Transparent=T</txt-record>
 <txt-record>Binary=T</txt-record>
 <txt-record>Fax=F</txt-record>
 <txt-record>Color=F</txt-record>
 <txt-record>Duplex=F</txt-record>
 <txt-record>Staple=F</txt-record>
 <txt-record>Copies=T</txt-record>
 <txt-record>Collate=F</txt-record>
 <txt-record>Punch=F</txt-record>
 <txt-record>Bind=F</txt-record>
 <txt-record>Sort=F</txt-record>
 <txt-record>Scan=F</txt-record>
 <txt-record>pdl=application/octet-stream,application/pdf,application/postscript,image/jpeg,image/png,image/urf</txt-record>
 <txt-record>URF=W8,SRGB24,CP1,RS600</txt-record>
 </service>
 </service-group>
*rp and adminurl are the most important data nodes, you can determine the adminurl by going to the CUPS web interface, clicking on the printers tab, the click the printer name, the resulting URL is what you will use
- restart avahi service
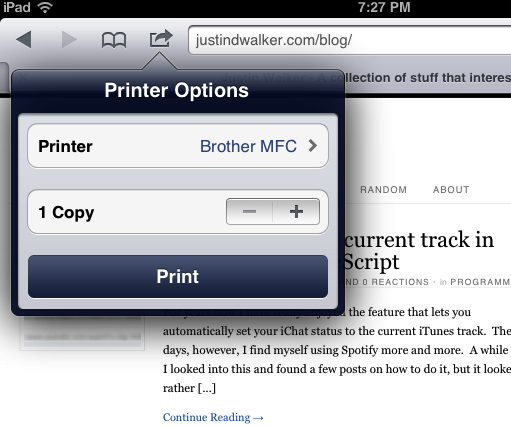
sudo /etc/init.d/avahi-daemon restart - go to your iOS device and print! References: https://help.ubuntu.com/8.04/serverguide/cups.html http://gyttja.wordpress.com/2010/11/11/airprint-on-ubuntu/ http://www.micromux.com/2010/11/22/airprint-for-mac-on-linux/
note: there are other posts on this topic that reference running a python script to generate the avahi “printer.service” but I personally could not get the script to work. This might be perhaps because I am running an older version of ubuntu. Simply copying the xml text and saving to printer.service and changing the data points to reflect your setup will also get the job done. Some of the other data points are fairly straight forward and you can change them accordingly. Unfortunately I am not familiar with some of the more obscure ones, so you will have to either leave them (hopefully it will just work) or play around with them. At some point I might get around to updating this post once I figure it out.
Like with many tutorials and guides on various topic there isn’t always a one-size-fits-all, so that’s why I’ve made this post. I had to grab information from various different sources to get this to work with my setup. I hope this helps!
Load Comments